Well, it’s been over a year since I’ve put up a blog post. It isn’t that I didn’t create anything in 2020, but with the continuing construction work on my new studio, I’ve not made much. And there are always chores around the farm, or prep work to be done for the farmer’s market. Plus, with Covid affecting all types of events, I didn’t do any travelling to shows in 2020 or yet in 2021. Everything was cancelled and moved to online shows, including this year’s Tampa show in February and the upcoming Philadelphia Doll & Teddy Bear show.
I did make a few new pieces for the 2020 online Philly show and the 2021 online Tampa show, but never got around to blogging. But while working on this year’s signature piece for the Philly show, I was taking pictures as I went – mainly so I could remember how I did it. I wanted to try creating an octopus. After several attempts in muslin, I finally got the head how I wanted it, and went looking for fabric. I found in my stash a brown skirt, bought at a thrift store for it’s velvet like fabric. Perfect. And for the underside I chose a nubby upholstery fabric in a burnt orange color.
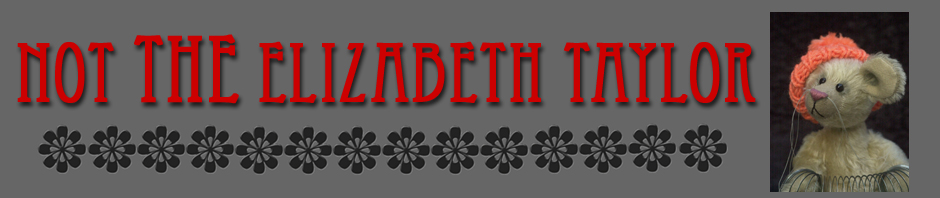
I wanted to be able to pose the tentacles, so Bill twisted eight pieces of 14g copper electrical wire scrap together for me. Wish I could do that part myself, but I don’t have the hand strength for that gauge wire bundled together.
With the wires inside, it was time to place the head on and see how it would look.
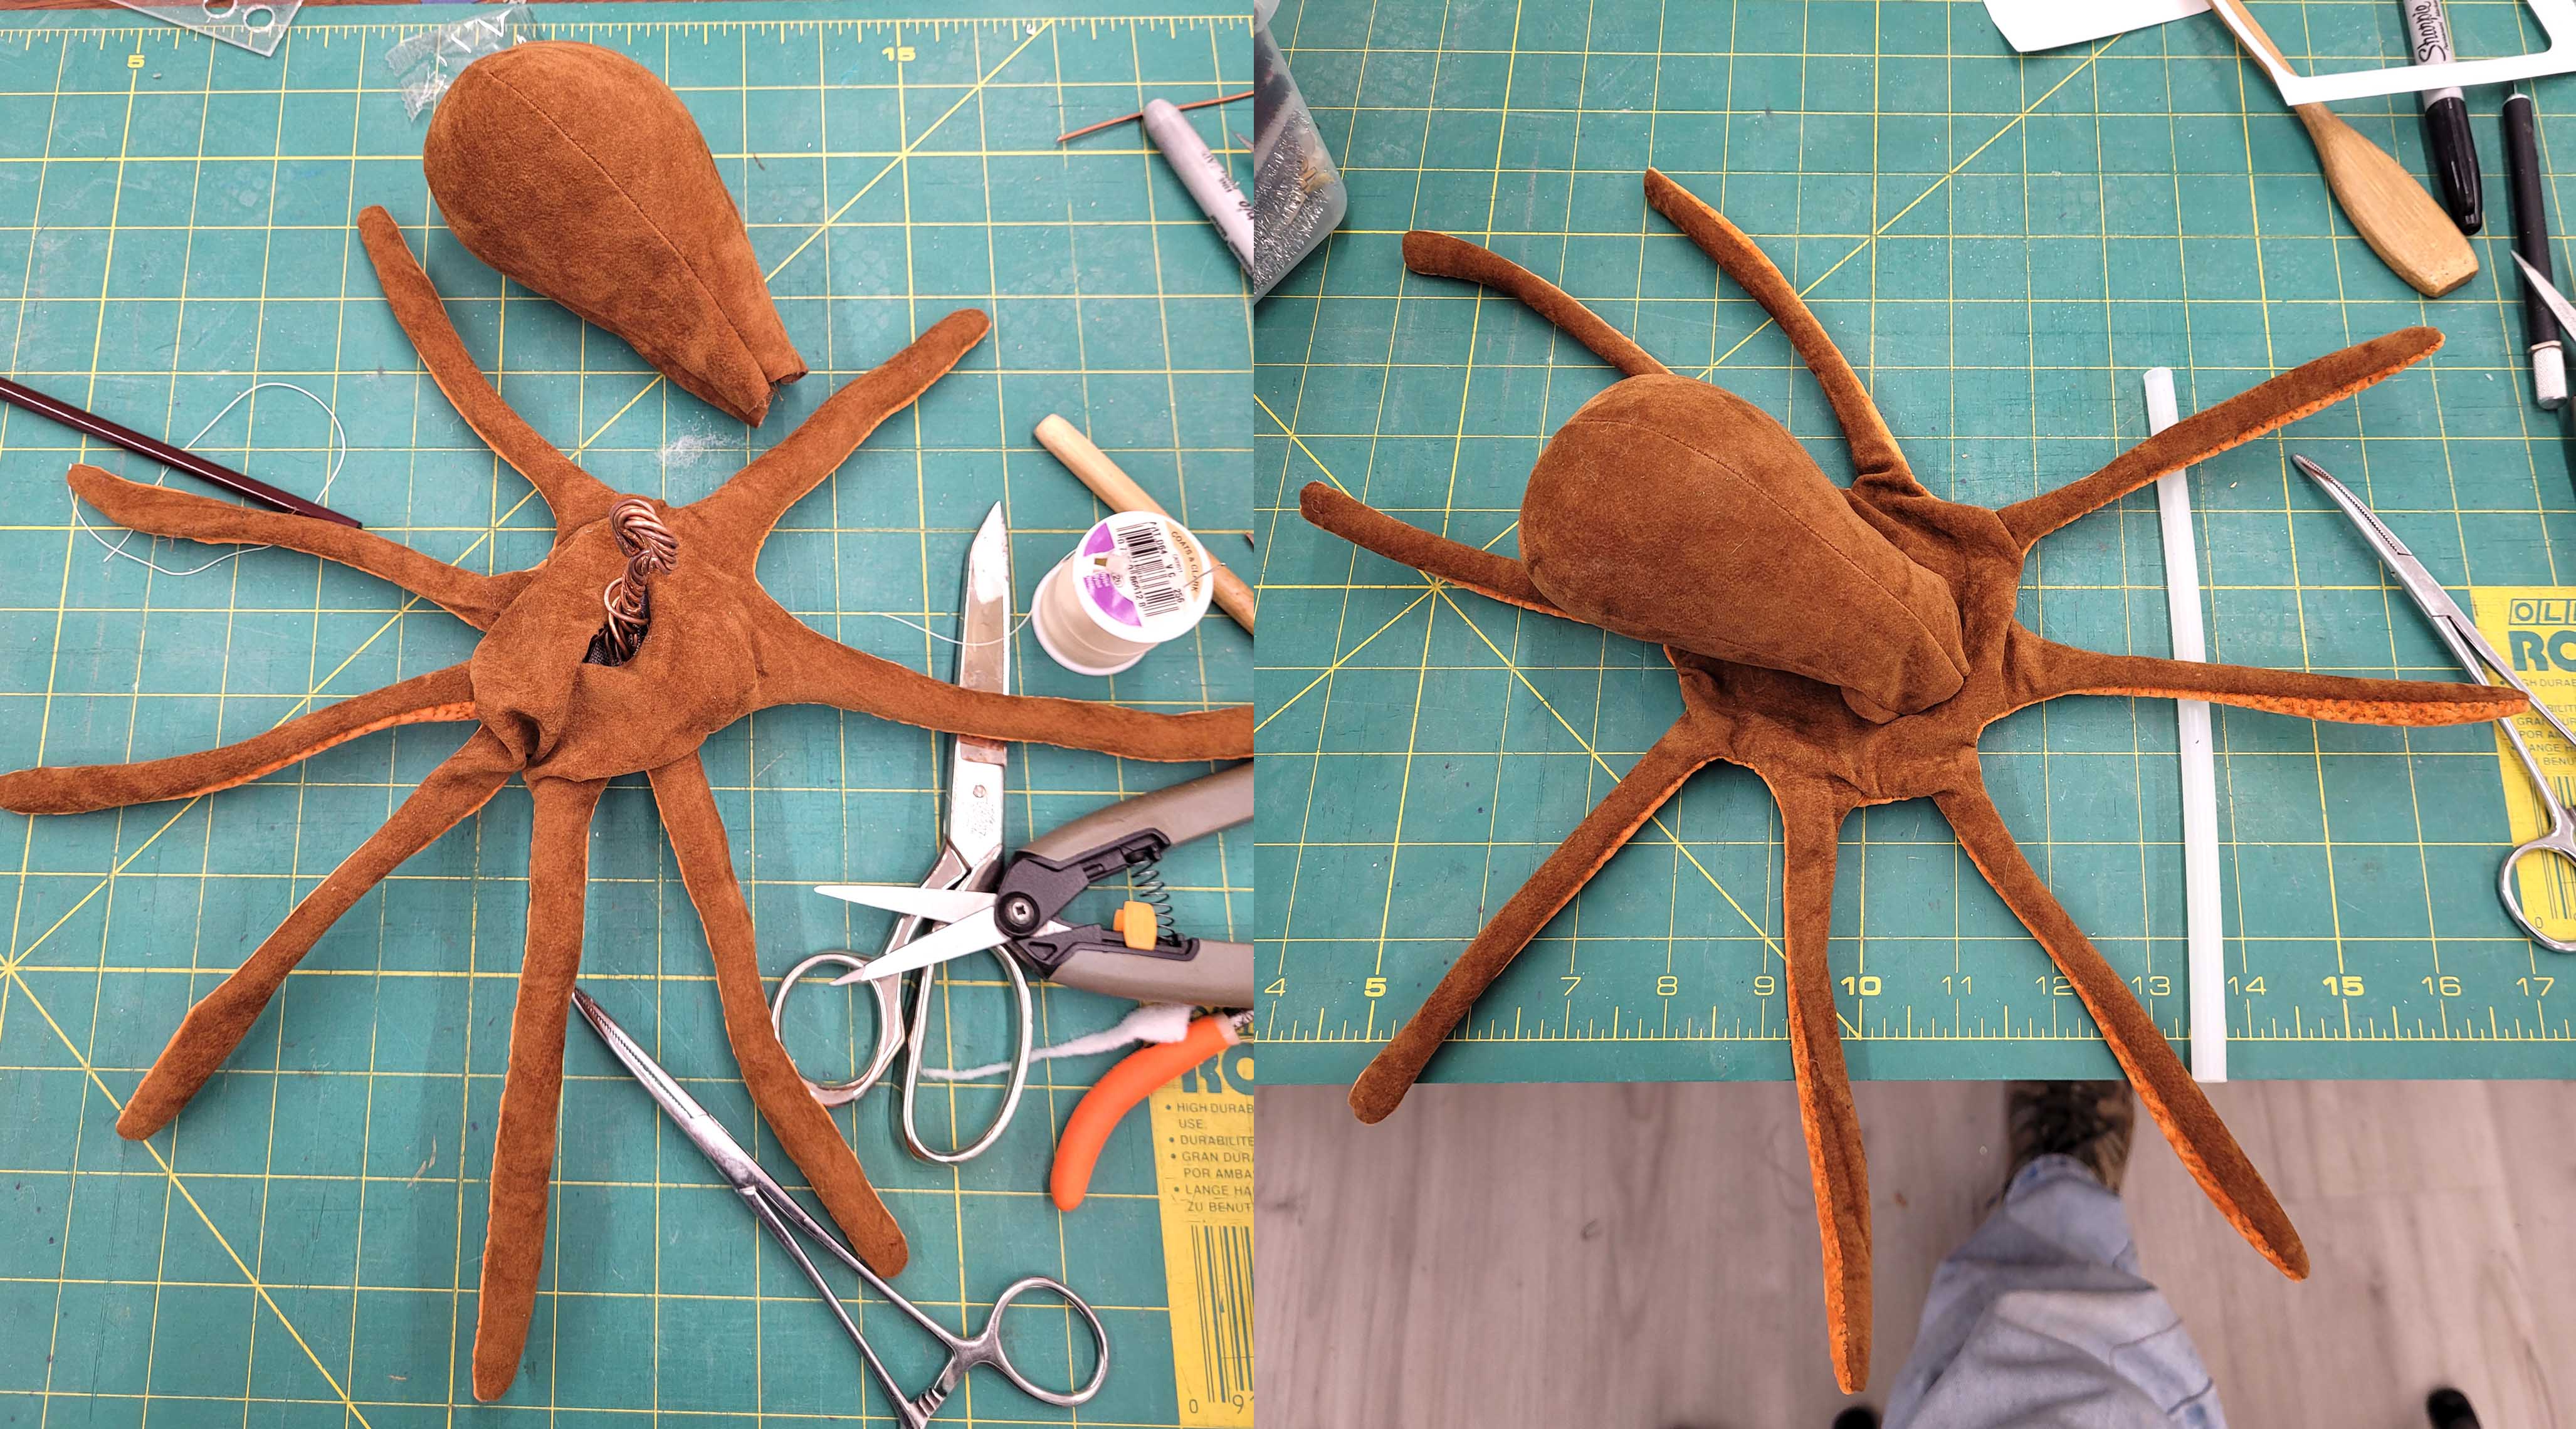
Looks like a cephalopod (which an octopus is, also squid, cuttlefish and nautilus). But I digress. After a tedious stuffing of either thin tentacles, once again I try on the head and test fit a pair of eyes.
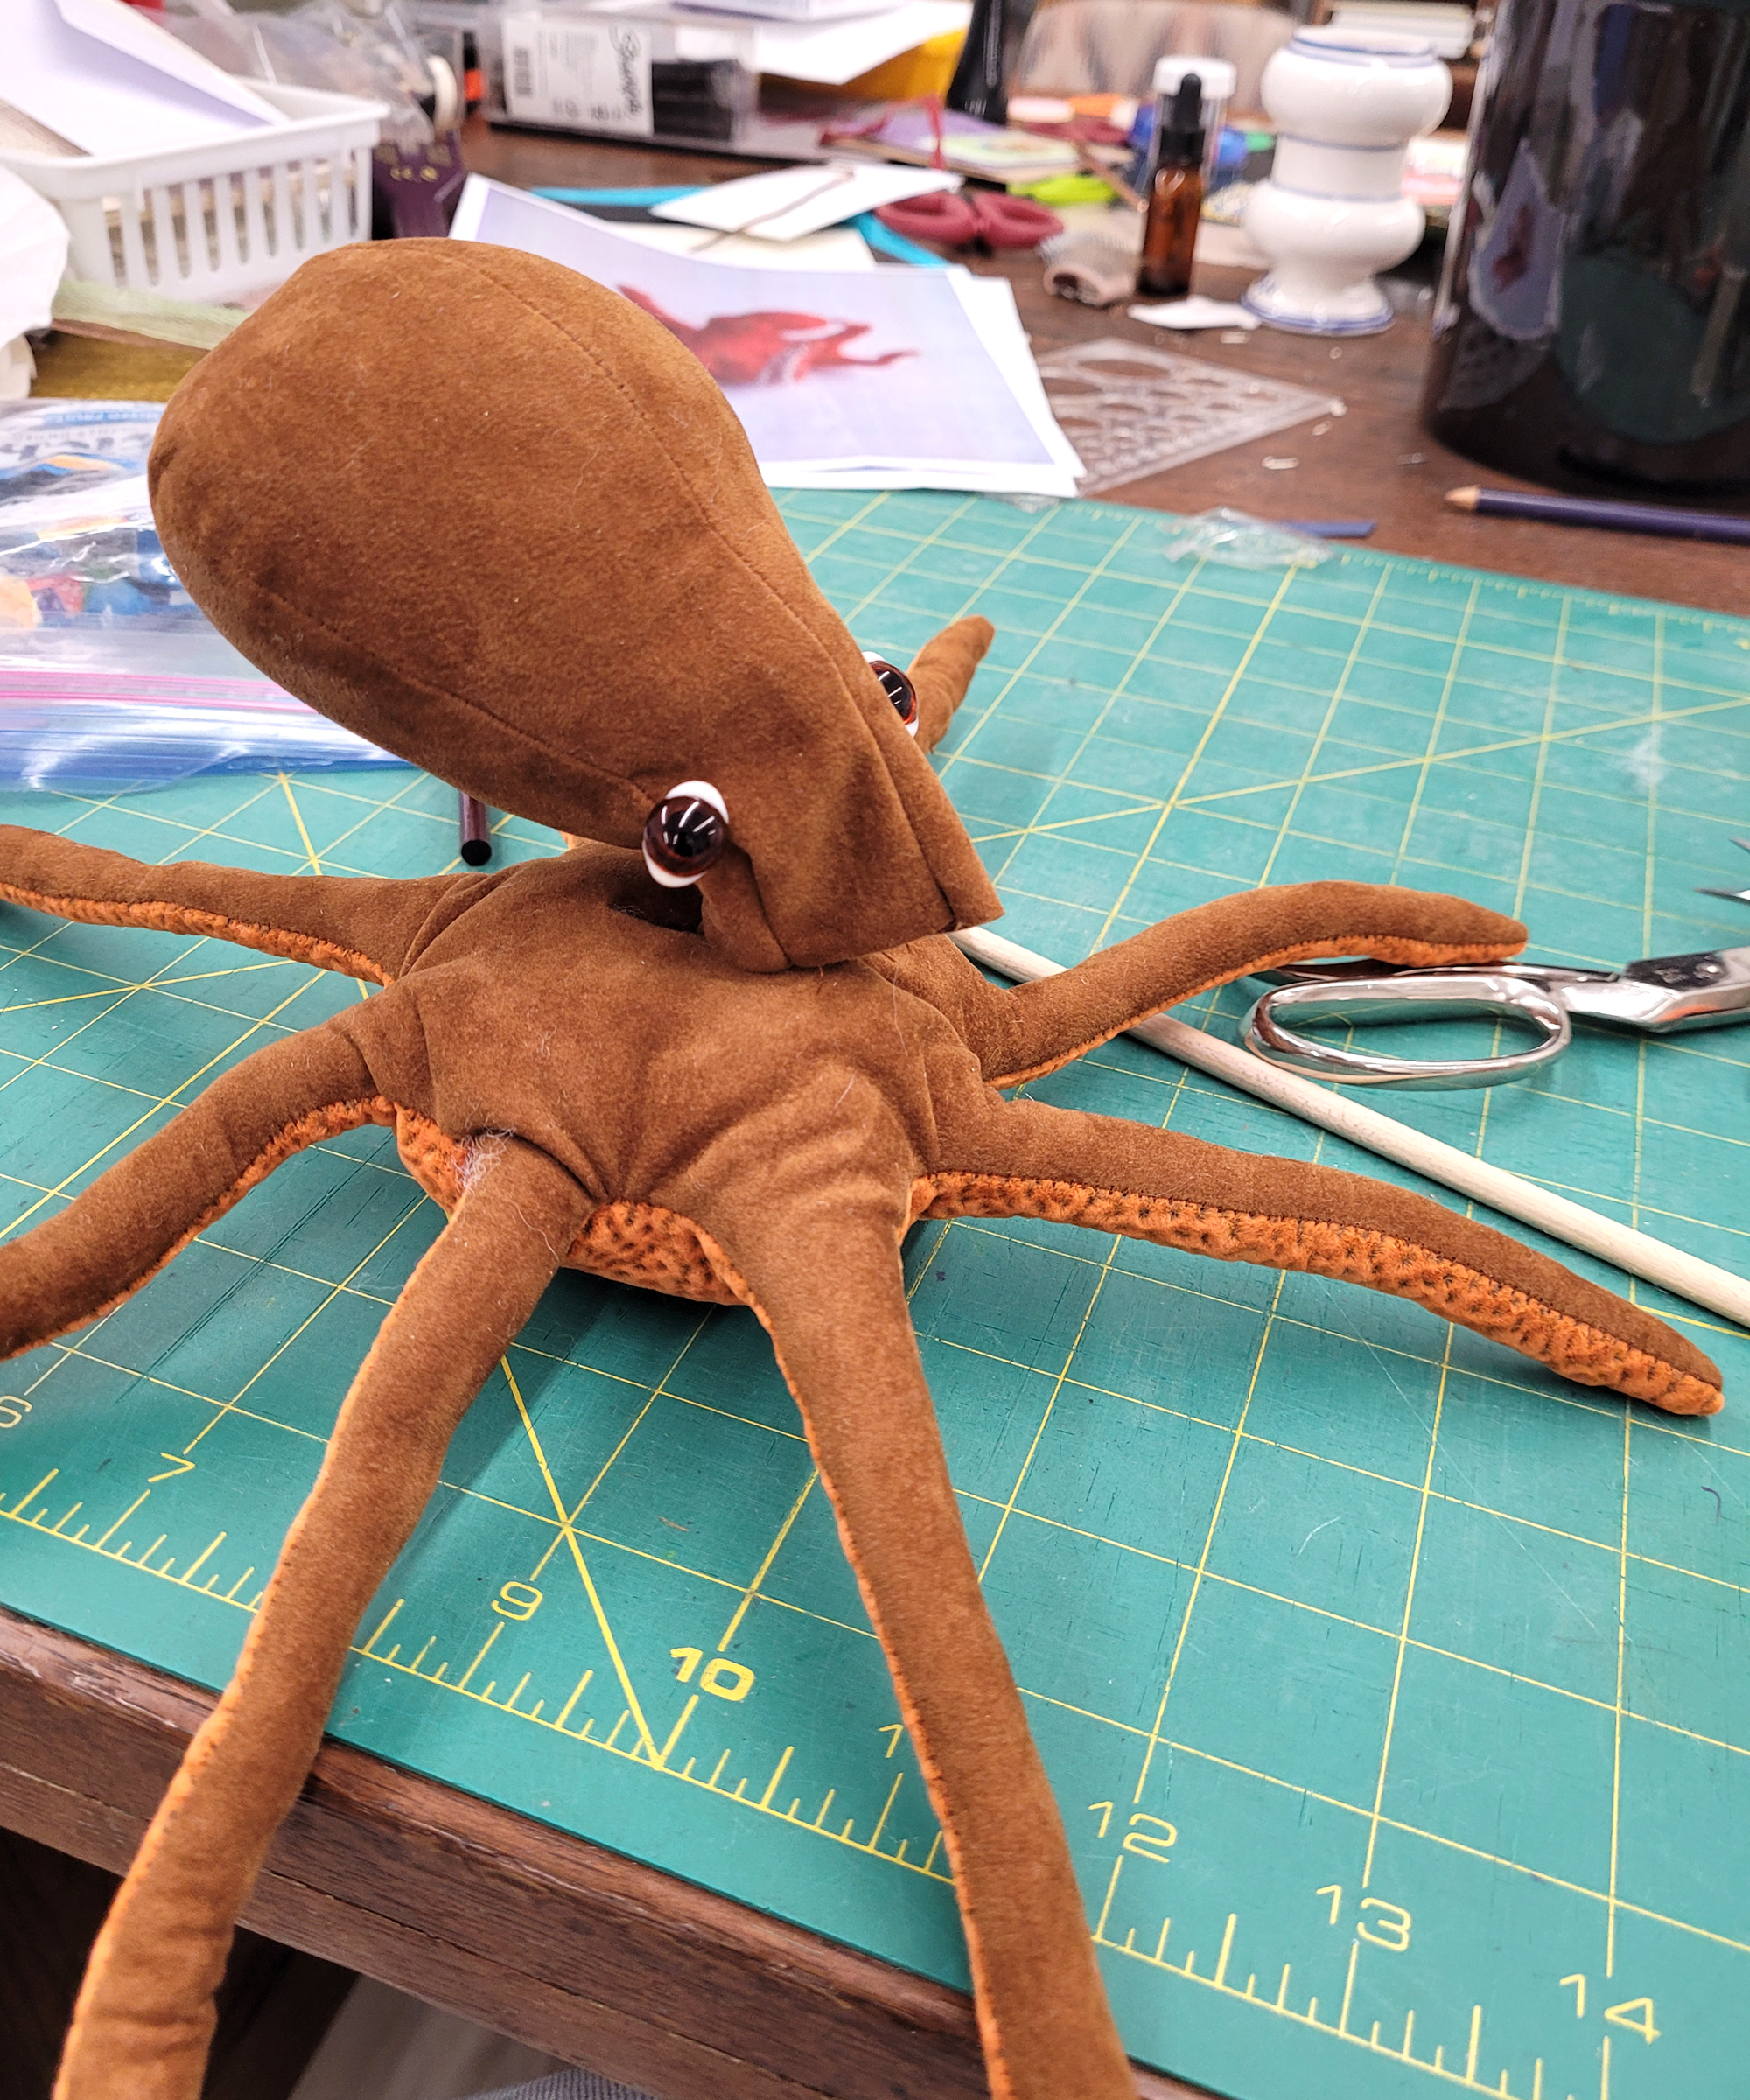
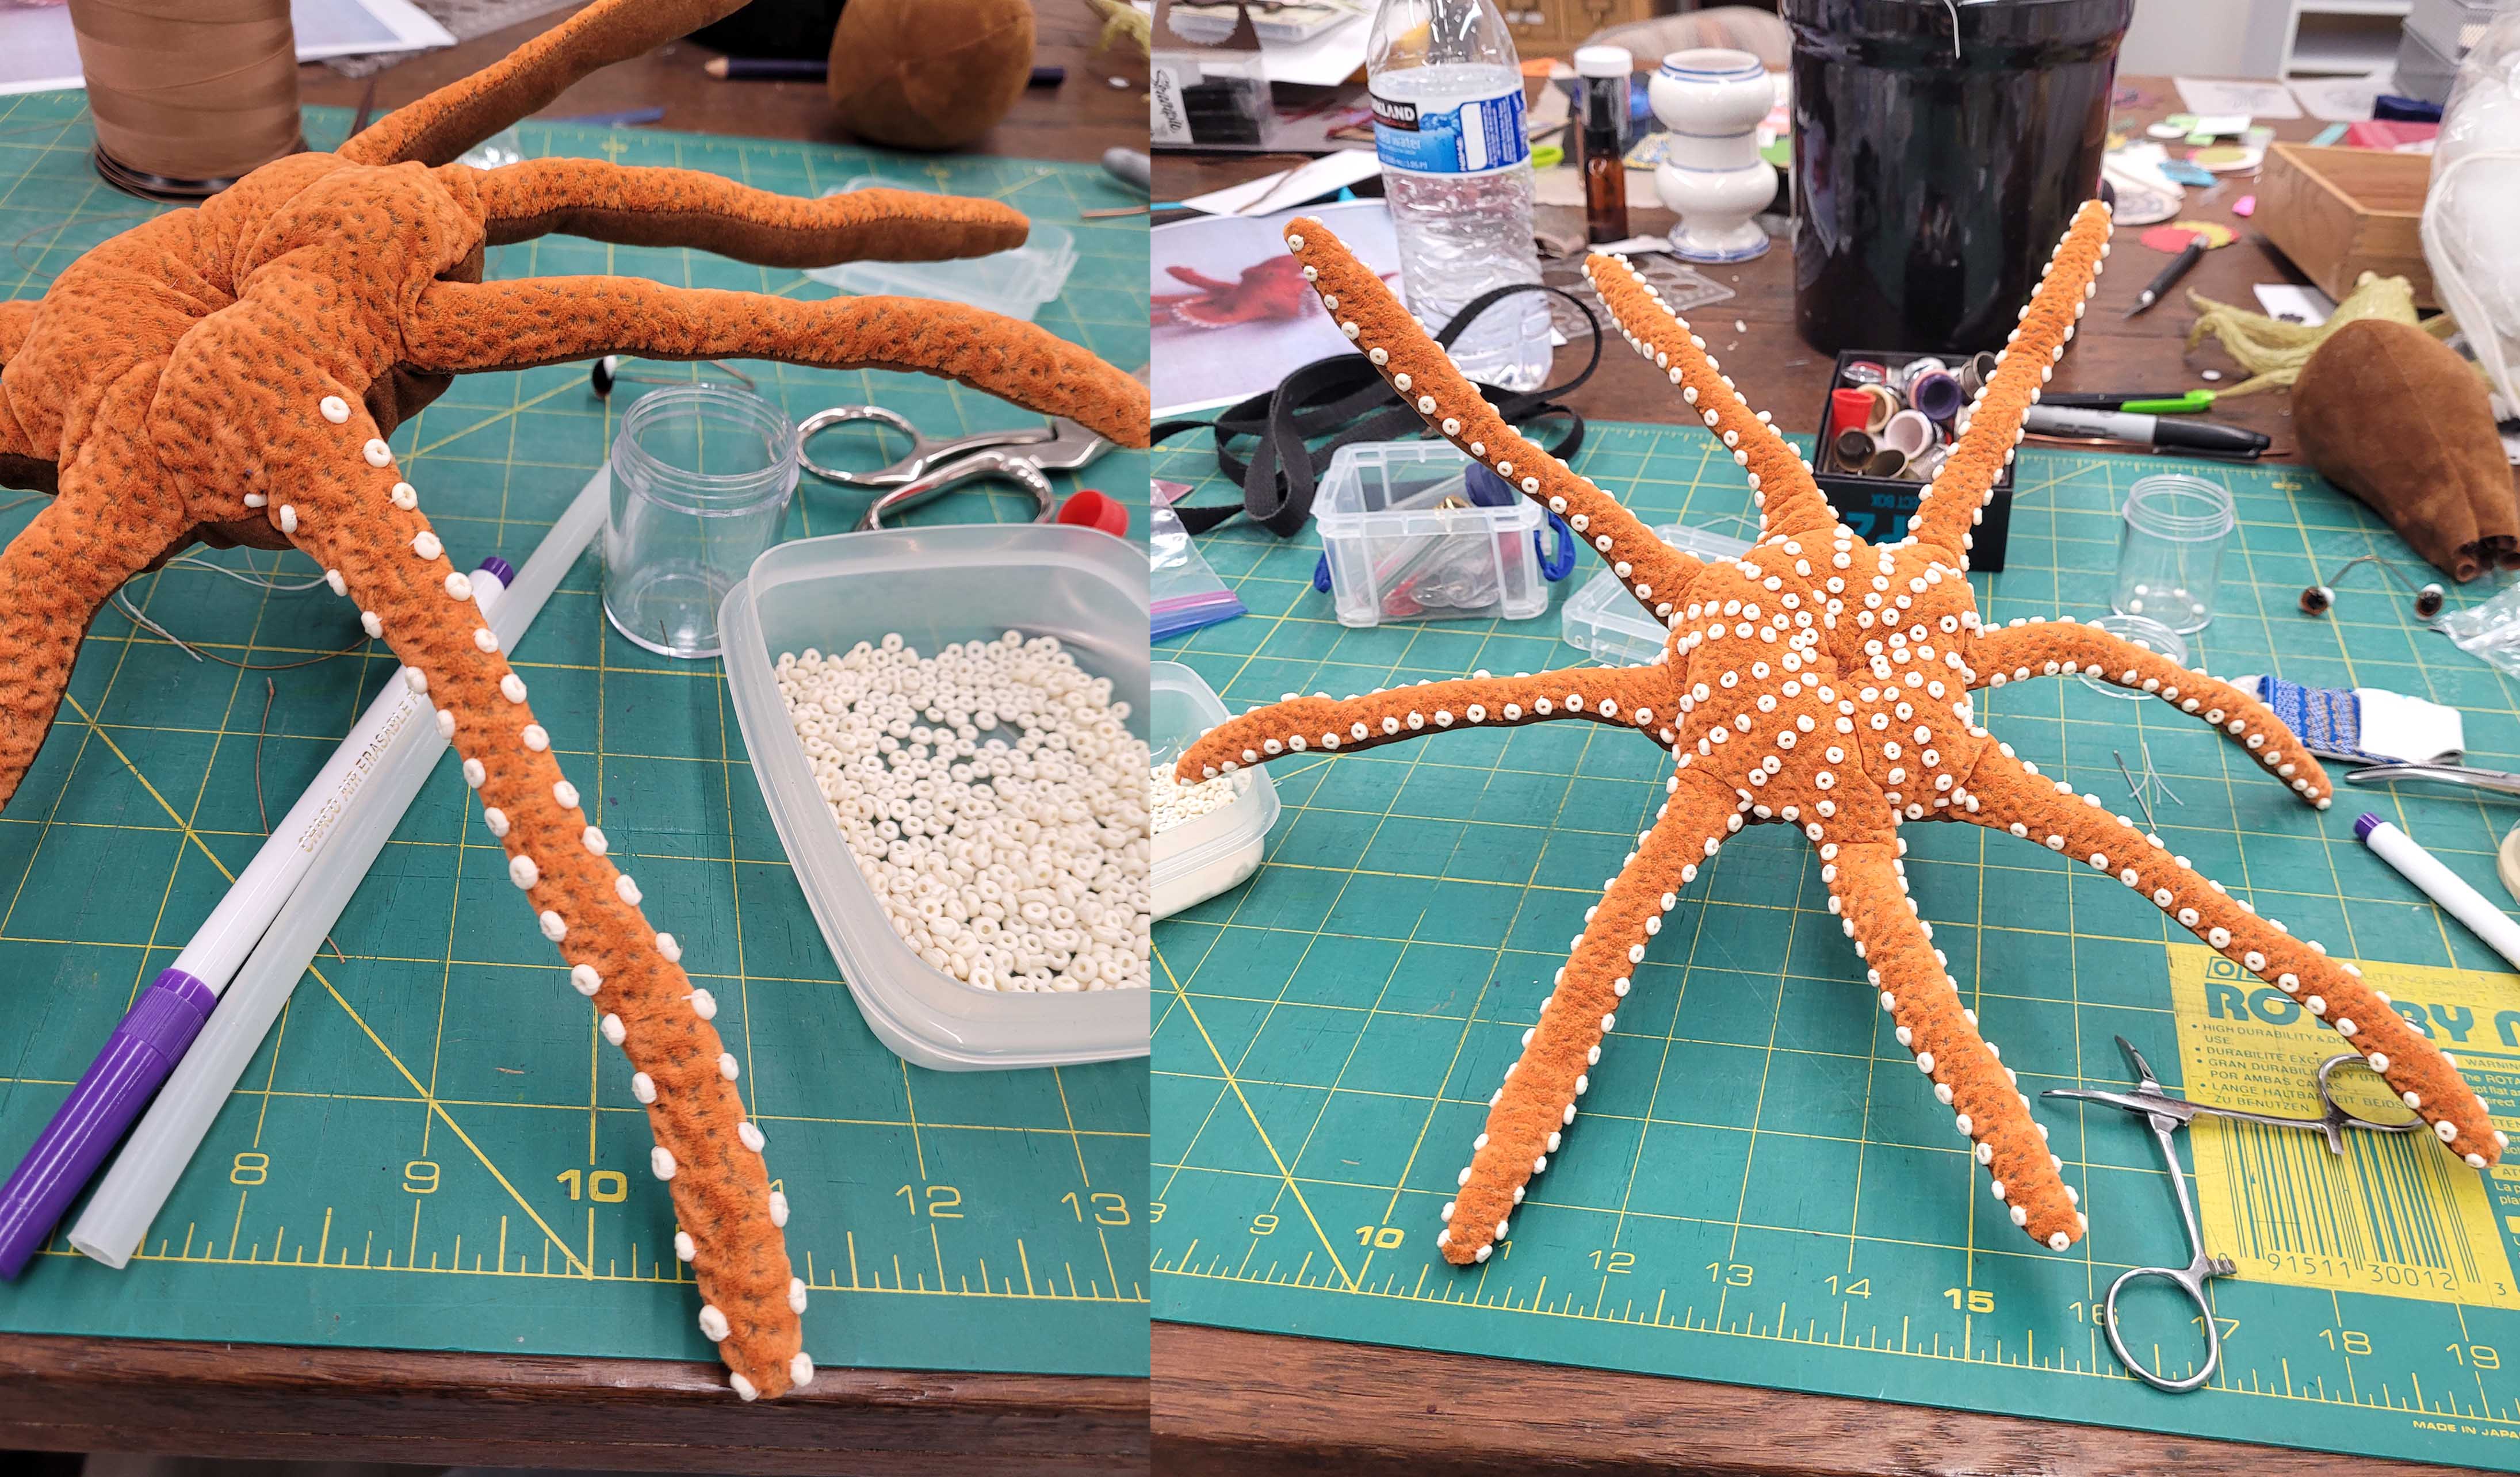
But before I can attach the head, I needed to add suckers to the tentacles and up into the mouth area. Digging through my bead stash, I found some shell heishi beads that were the right style. And though I would have preferred the suckers to be a bit larger, these would work. Each bead was sewn on using a matching off-white thread with two stitches each to anchor them well. Another tedious step, so I took it an arm at a time, with breaks in between to let my eyes rest.
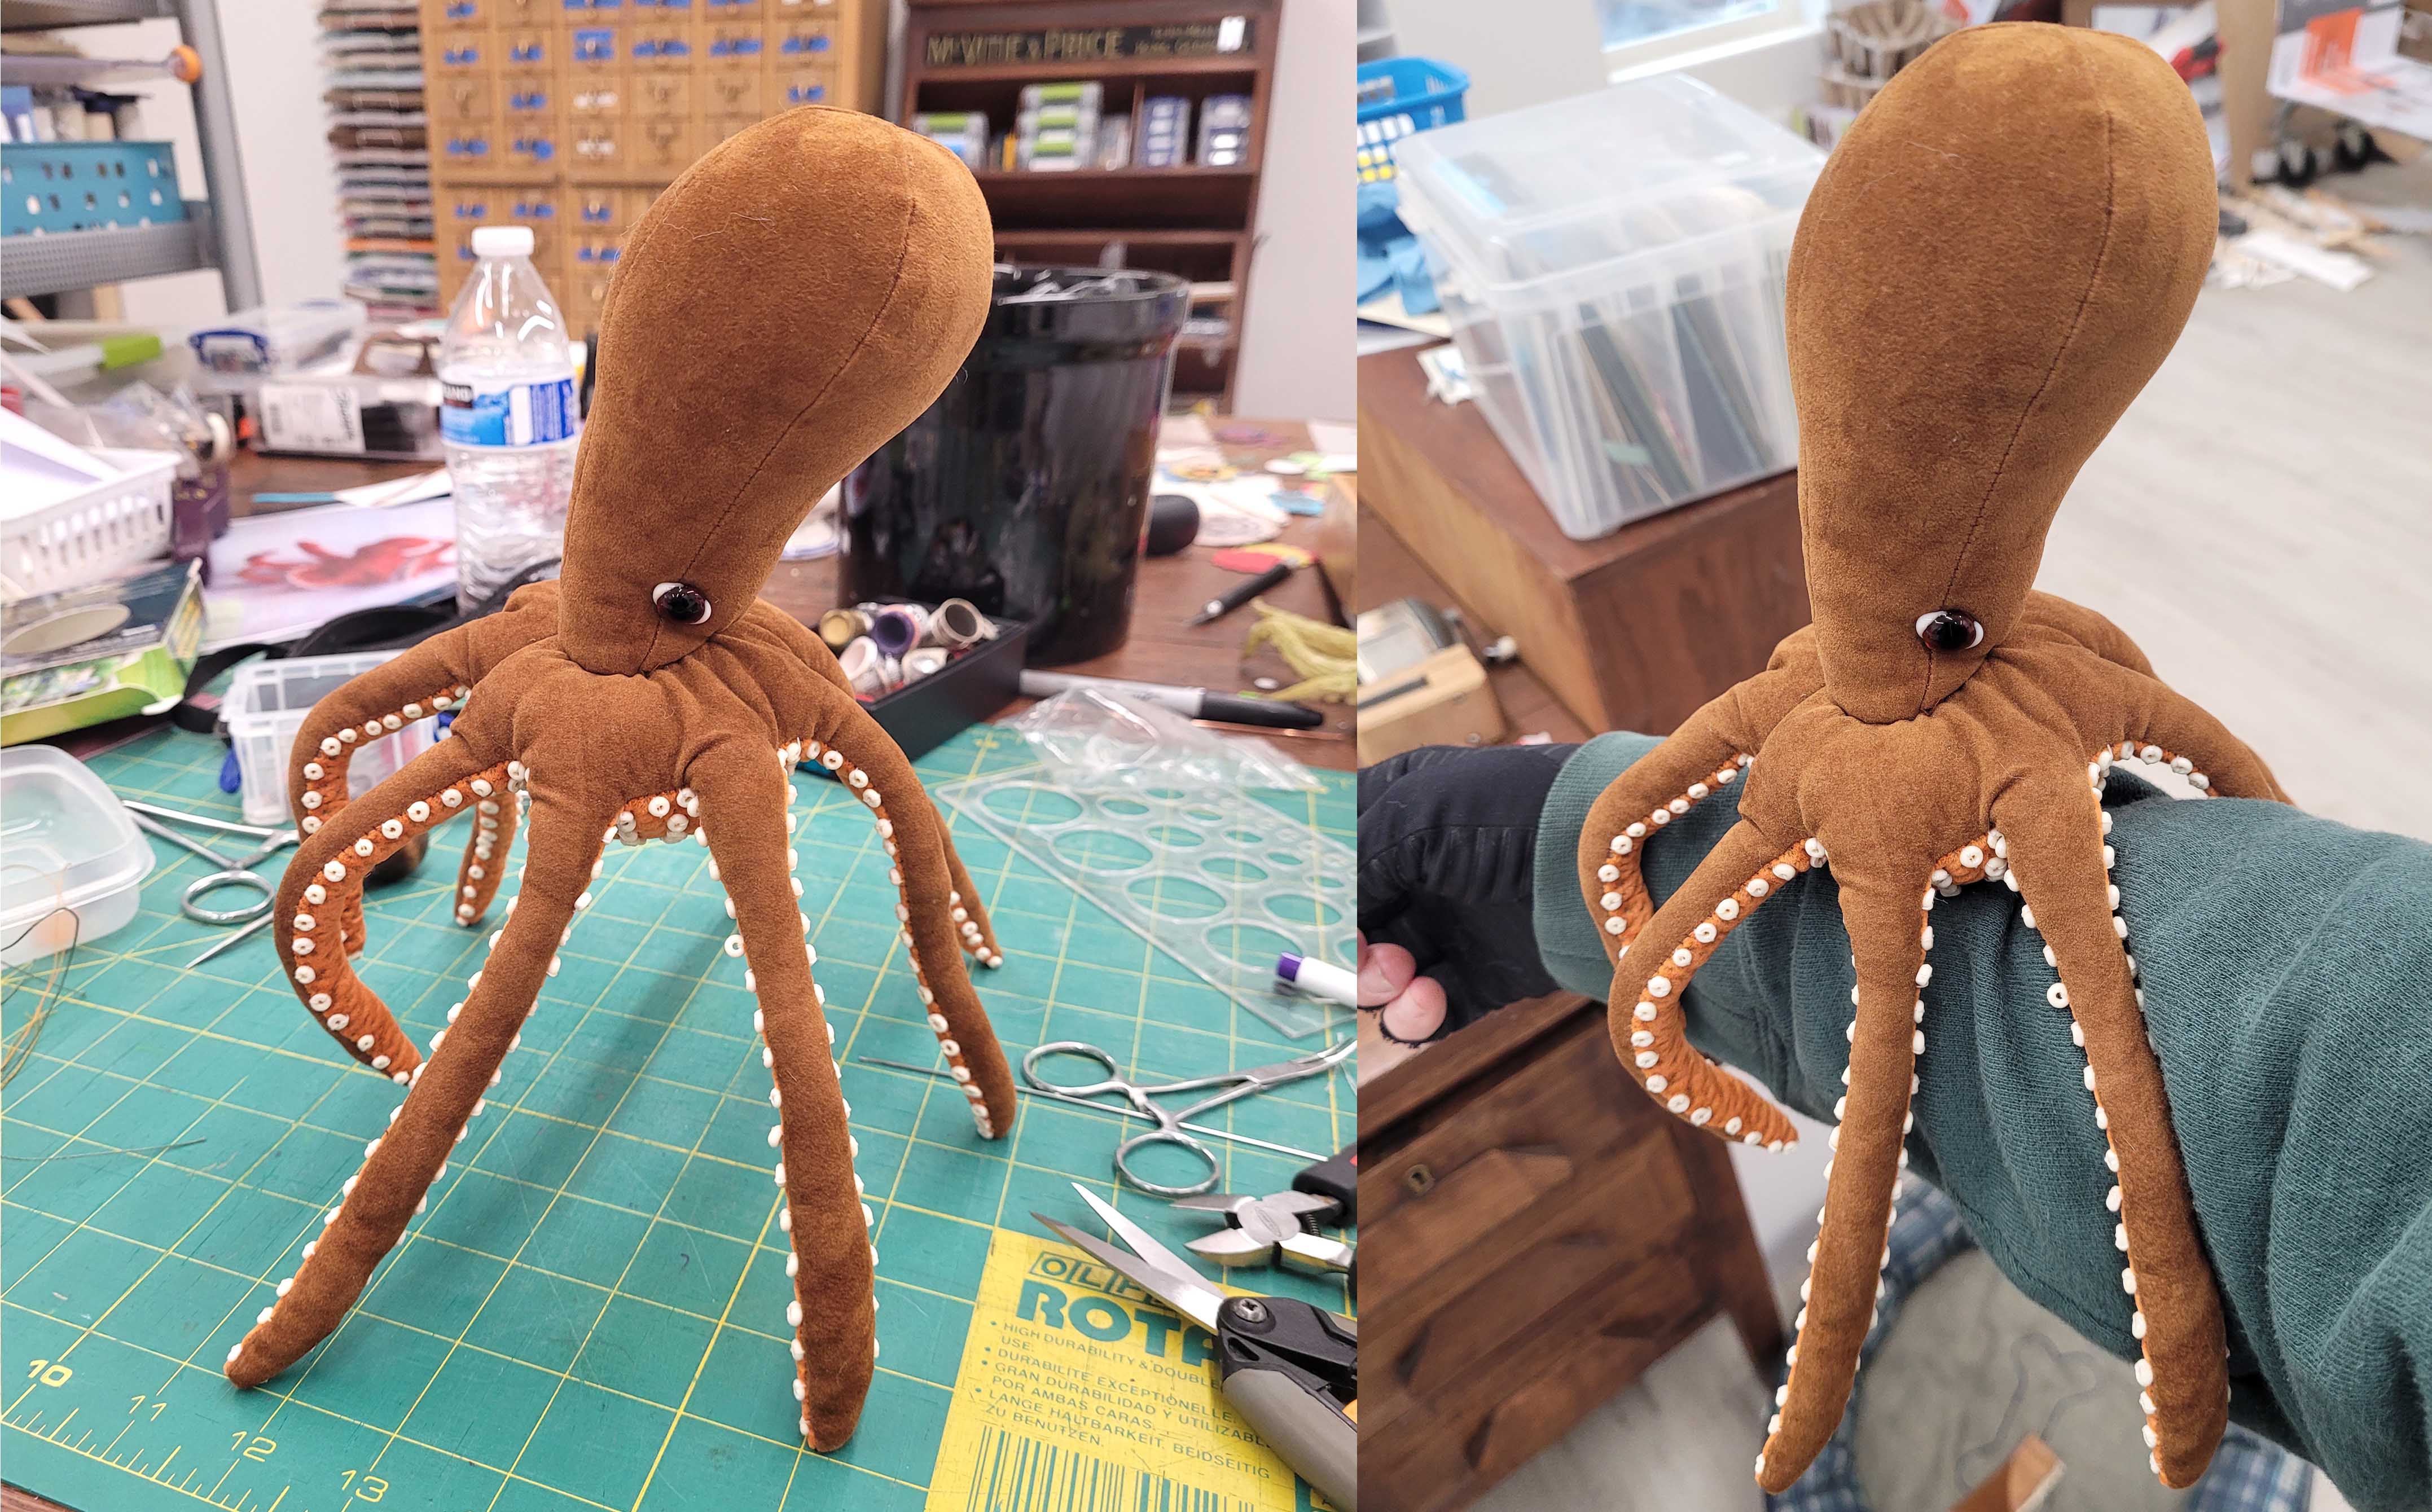
Once all the suckers were on, I attached the head to the body and inserted the glass eyes. I played around with positioning the tentacles and thought, hey, he can pose on my arm.
The eyes needed covering to look authentic and it took some thought to figure out how to get the look I wanted. I created a tube out of the body fabric, turned and lightly stuffed it, then sewed the ends together to make a doughnut shape. This was then carefully stitched onto the head around the eyes.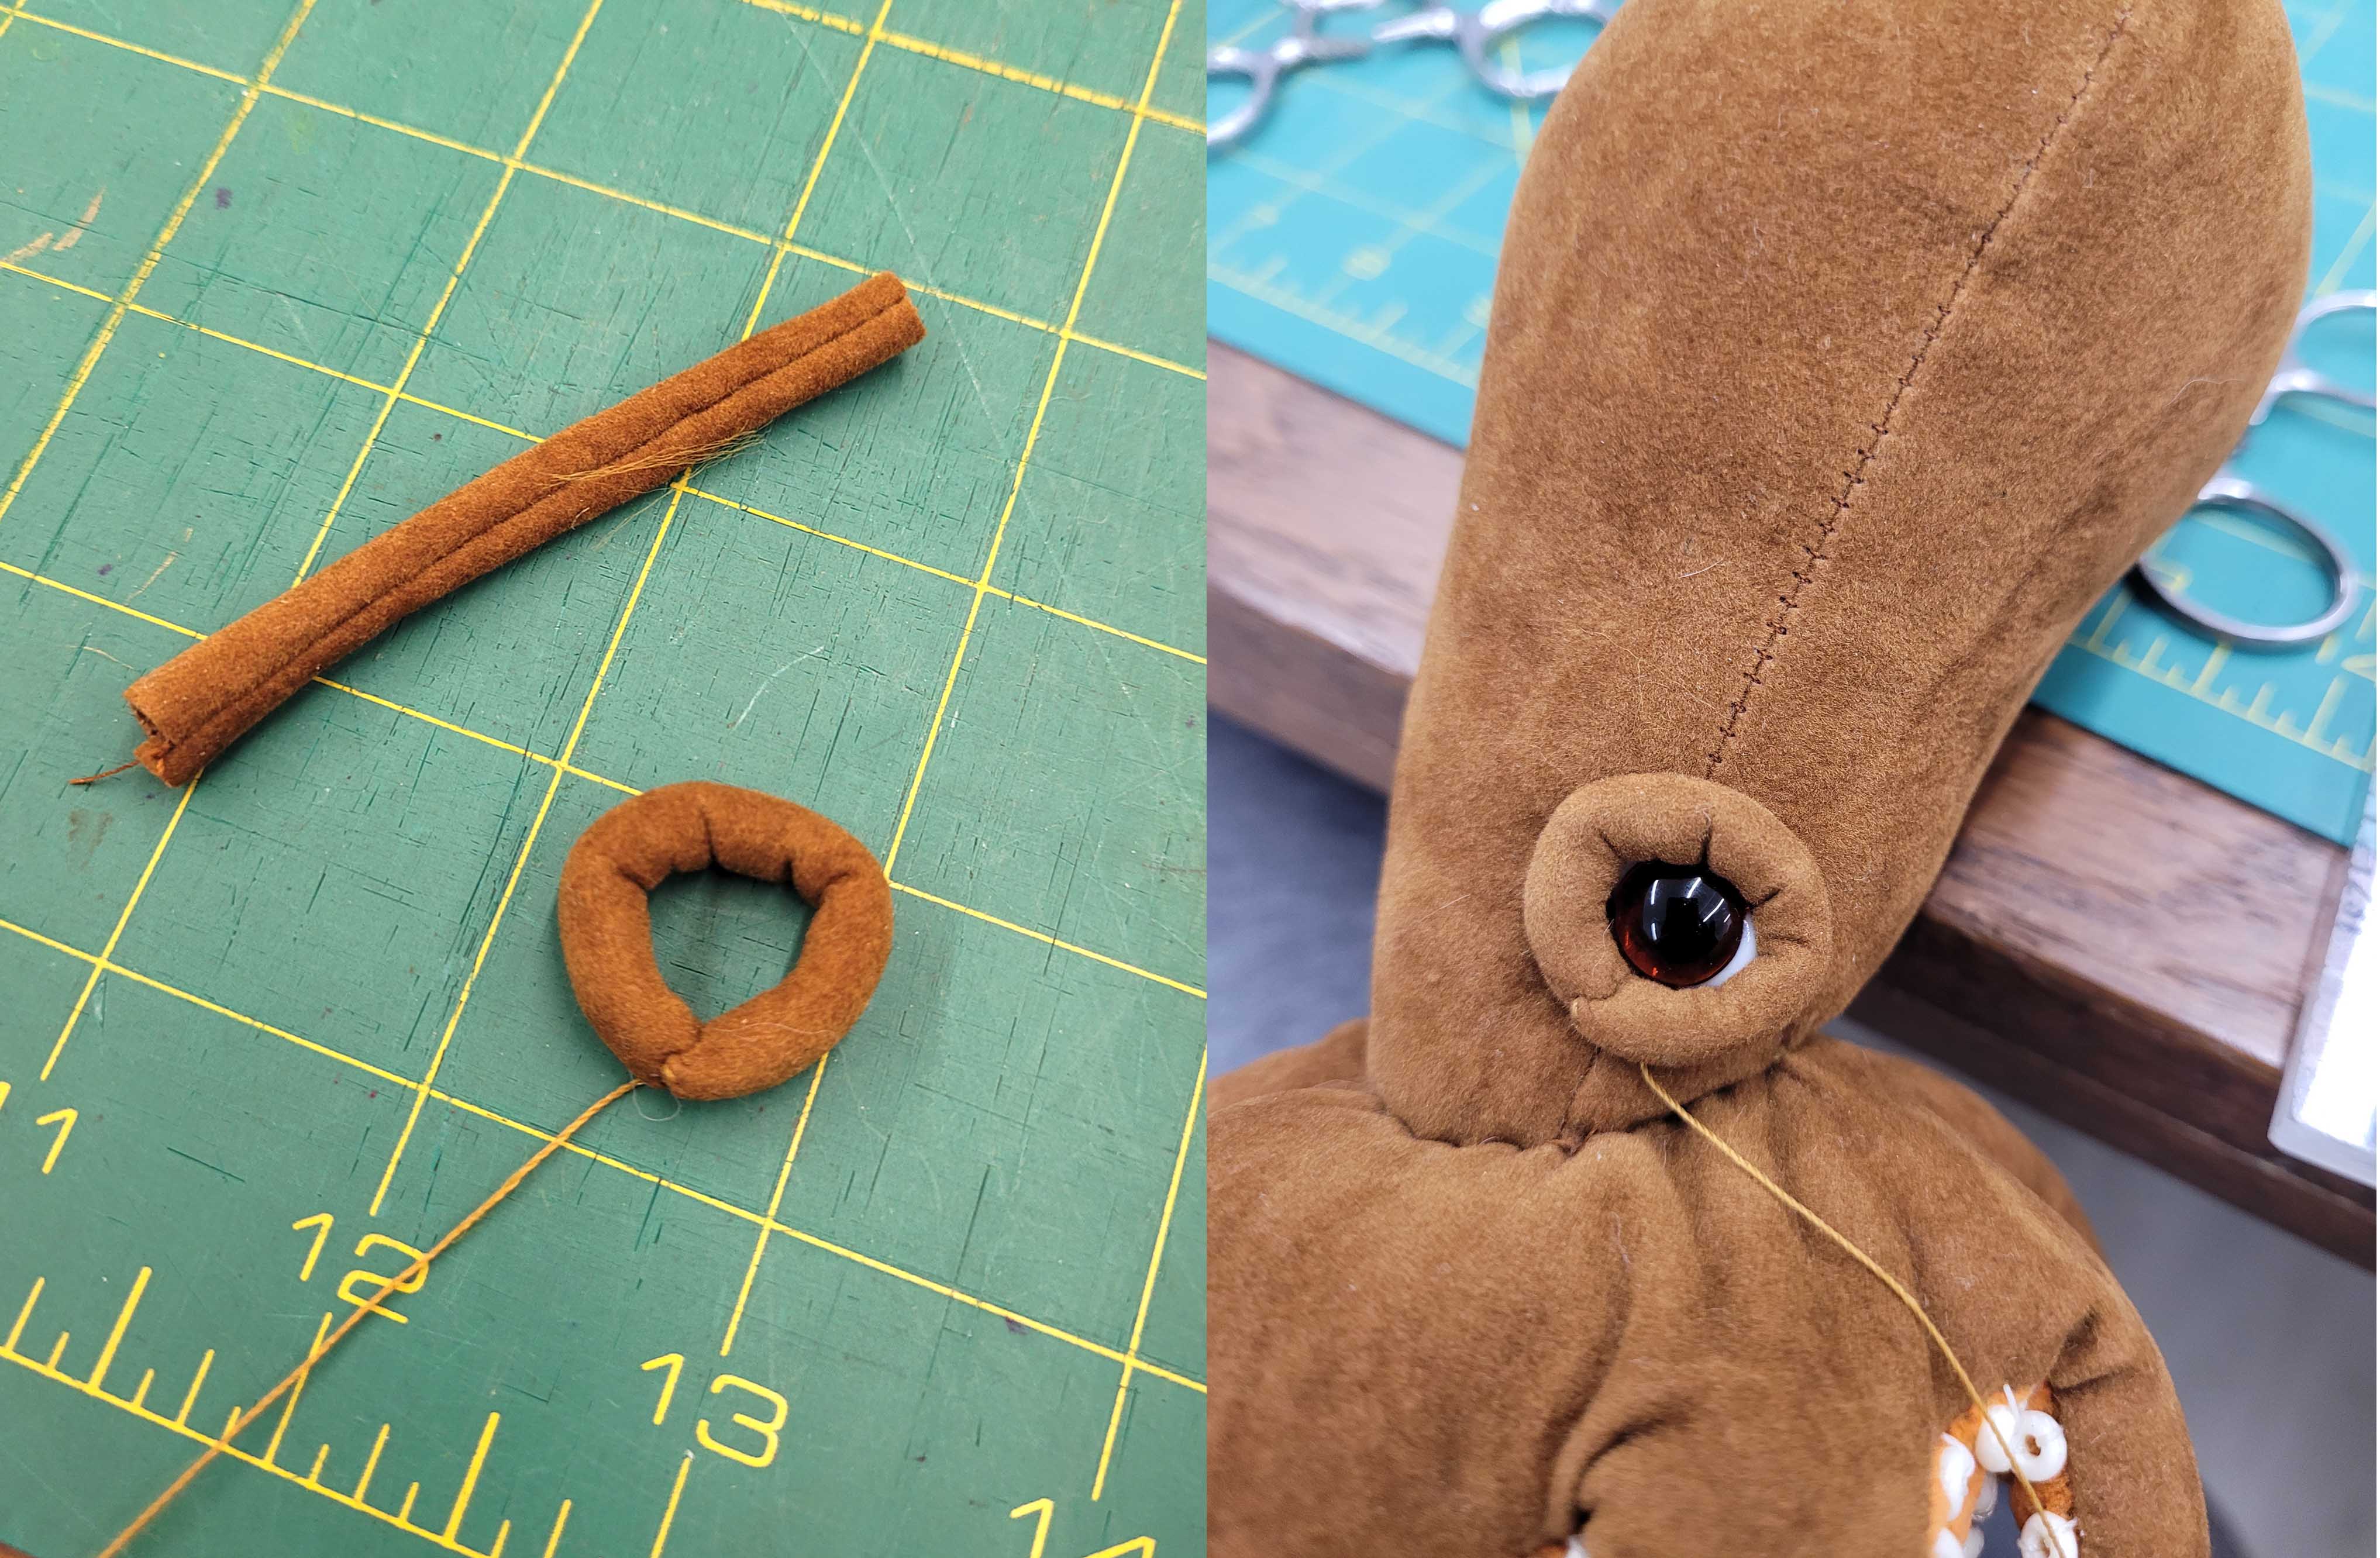
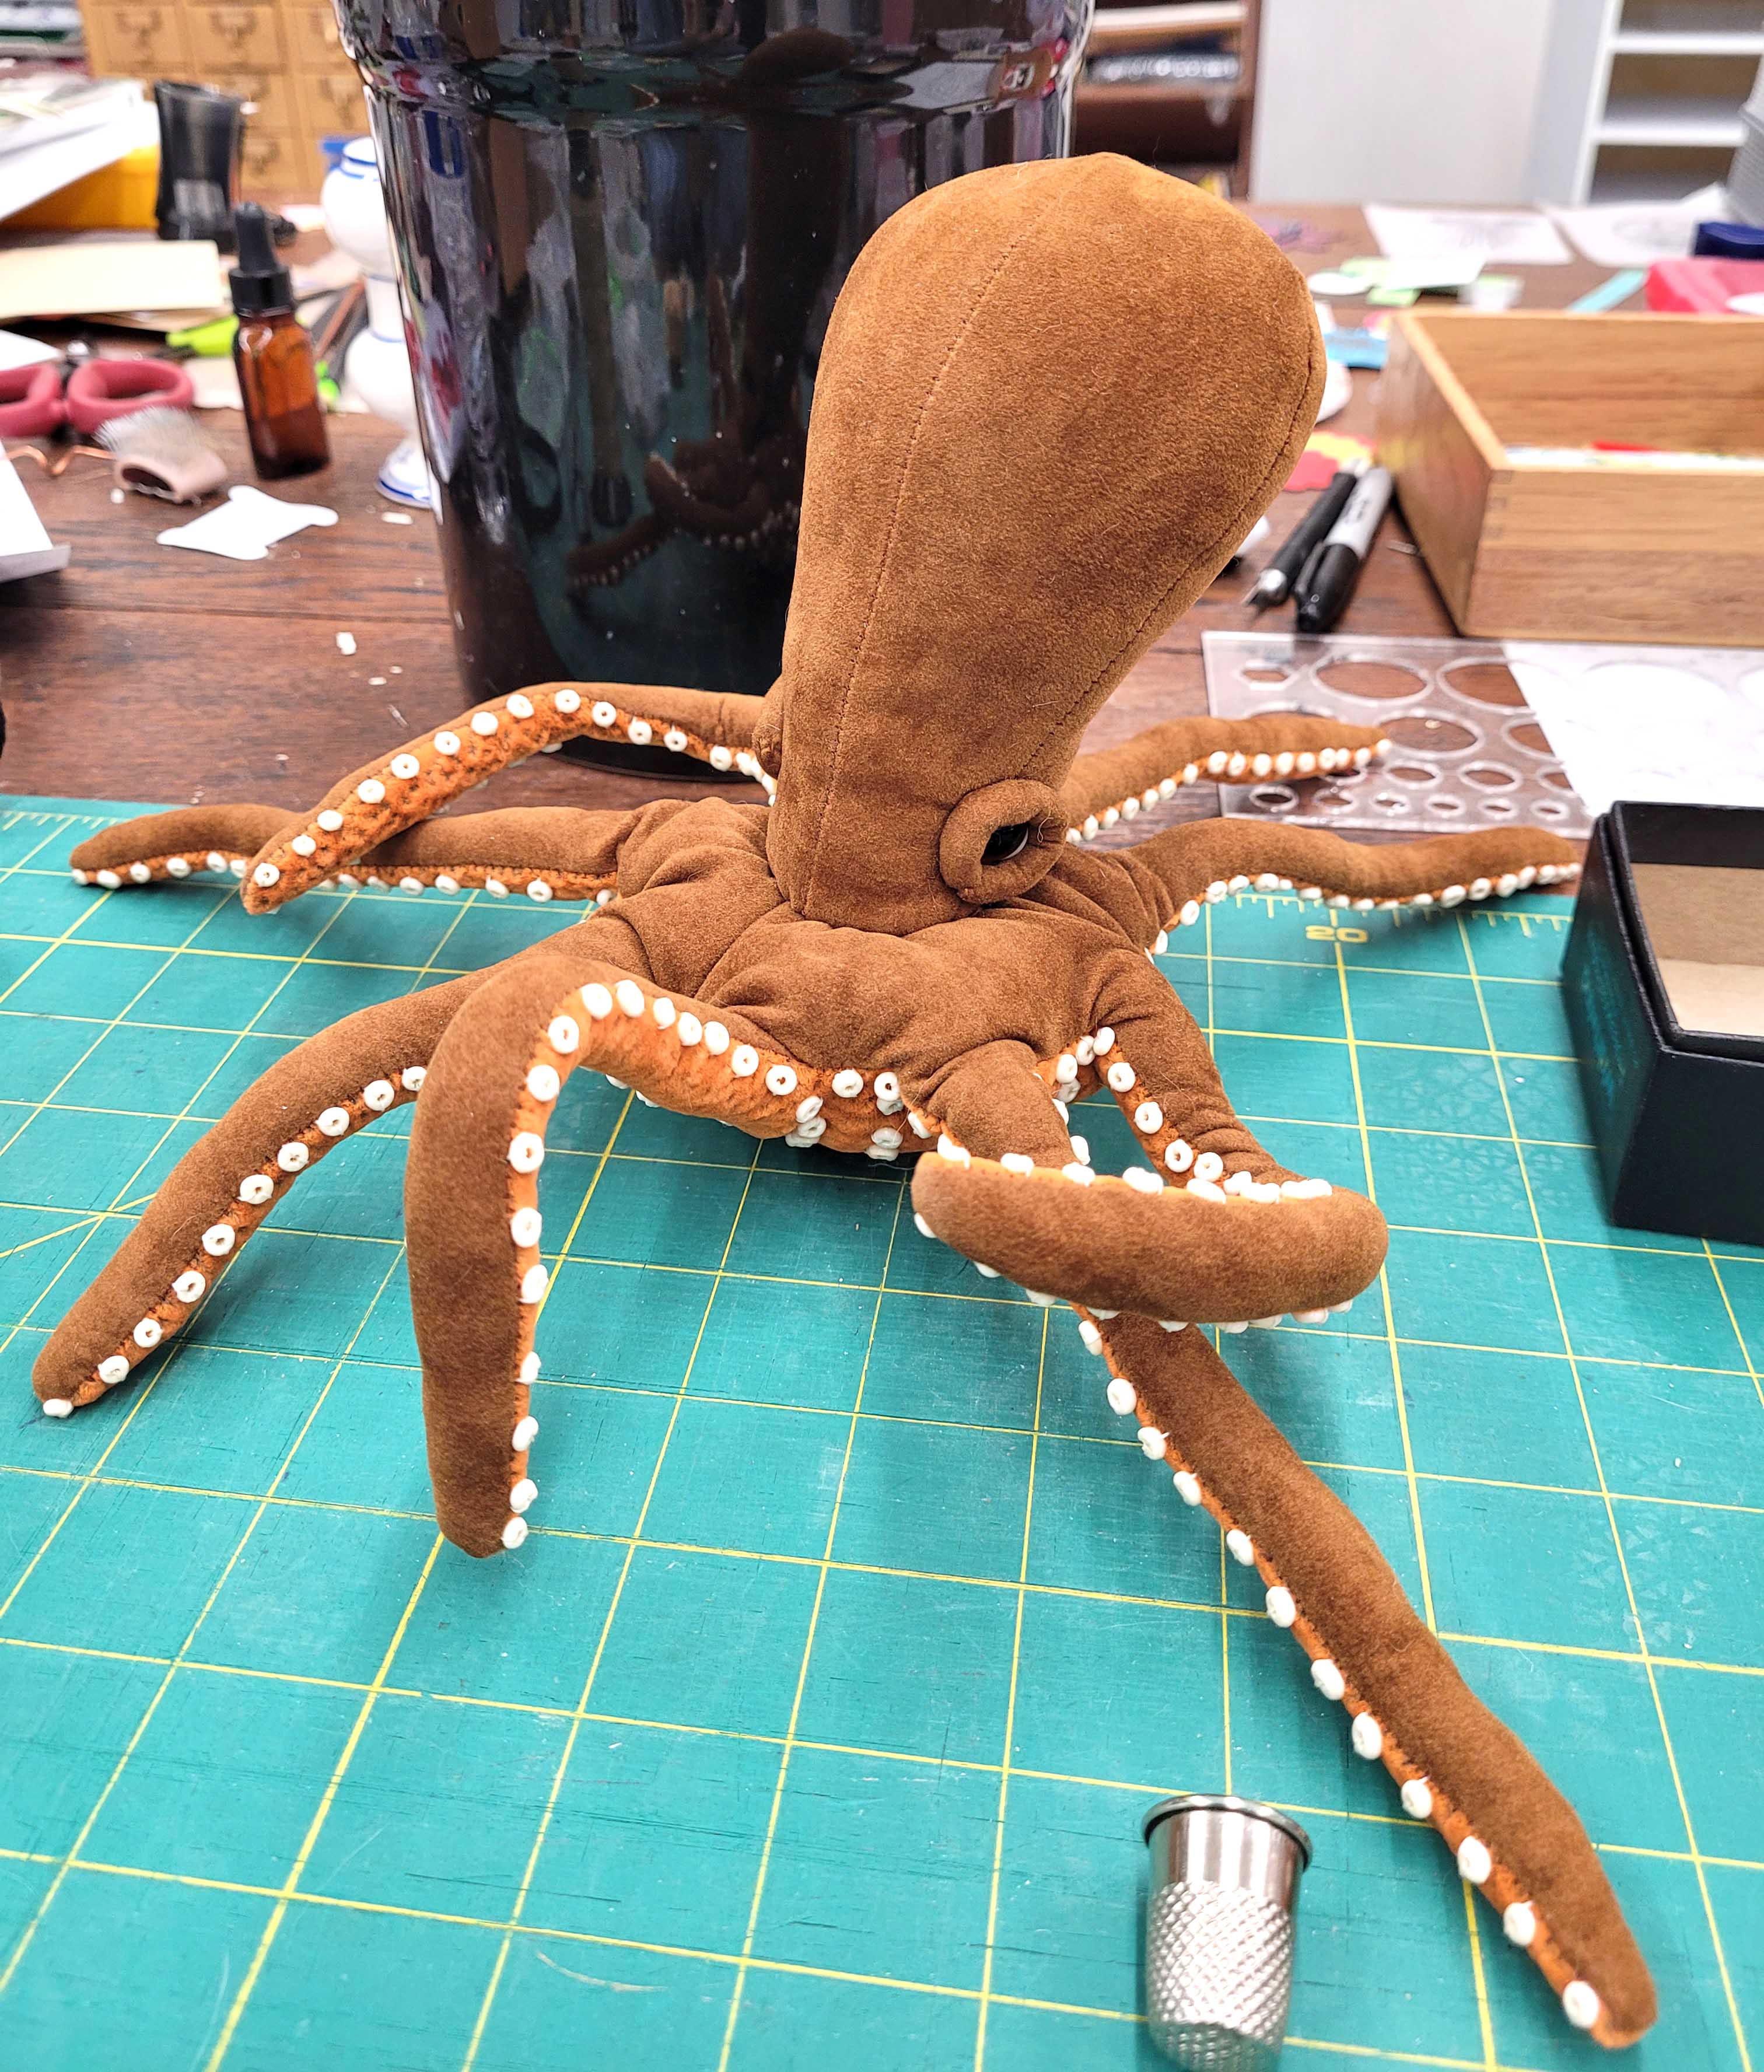
Now that looks like an octopus. I think I’ll call him Octavian.
But this is a Doll & Teddy Bear show – and an octopus is not a bear. So, maybe he needs a companion? Check back for part 2.

Fantastic job!! I love Octavian! You made him perfect. Thank you for sharing.